What is WordPress and How to Install WordPress Easily On Localhost XAMMP
On the off chance that you've at any point investigated constructing a site, you've likely known about WordPress. You realize a well-known stage should make getting on the web simple. However, what precisely is WordPress? Furthermore, how would you utilize it?

Hello Everyone! Welcome back to PH Wizards. Today on this occasion our tutorial is What is WordPress and How to Install WordPress Easily On Localhost XAMMP.
What is WordPress?
Difference between (WordPress.com) & (WordPress.org)

WordPress.com!
WordPress.com gives every one of the devices a facilitated WordPress site. It offers clients a WordPress stage for making a site ready with no coding mastery required, and WordPress.com deals with all the continuous administration of the site. At its easiest level, all clients need to do is to pursue a free record, pick a subject, and begin distributing. This settles on WordPress.com a well-known decision for understudies, bloggers, and creatives who don't have a need — or have an interest in — the full scope of customization choices presented by WordPress.org.
WordPress.com offers different plans beginning with the essential free record. For additional administrations and choices, for example, adding a custom subject, clients can climb to paid plans that incorporate Personal, Premium, and Business. Every one of these paid plans takes into consideration more noteworthy customization and command over the site's tasks so it all the more intently looks like a self-facilitated WordPress site.
Yet, the comfort and usability that makes a WordPress.com site so engaging likewise have their downsides. Except if a client moves up to a paid arrangement that incorporates a custom space name, a WordPress.com site will continuously have the expansion "WordPress.com," in the site name — a definite sign that you're utilizing a facilitated site. A space name that remembers the hosting supplier that way can flag an individual webpage or blog, not an expert website committed to carrying on with work or offering help.
WordPress.org!
How to Install WordPress On Localhost?
Installing WordPress on localhost is very straightforward.
The important thing to remember is that WordPress itself does not run directly on your local machine. It requires a web server, PHP, and a database (MySQL is a popular choice) for proper operations. The combination of these components creates the environment in which WordPress operates.
Typically, the process of building a WordPress environment consists of the following steps:
- Setup the environment
- Download a stable WordPress version
- Install WordPress on the localhost
Install WordPress on Windows
This section covers the WordPress installation on Windows operating system. The following steps demonstrate how to set up and configure a virtual host on Windows 10 using XAMPP.
Step 1: Download XAMPP and WordPress
Before downloading WordPress, it is important to set up the proper environment it runs in. On Windows, this is accomplished by installing XAMPP or WAMP to set up a server – database stack (the industry-favorites are Apache as a web server and MySQL as the database).
In this guide, I will be using XAMPP, downloadable from the Apache website.
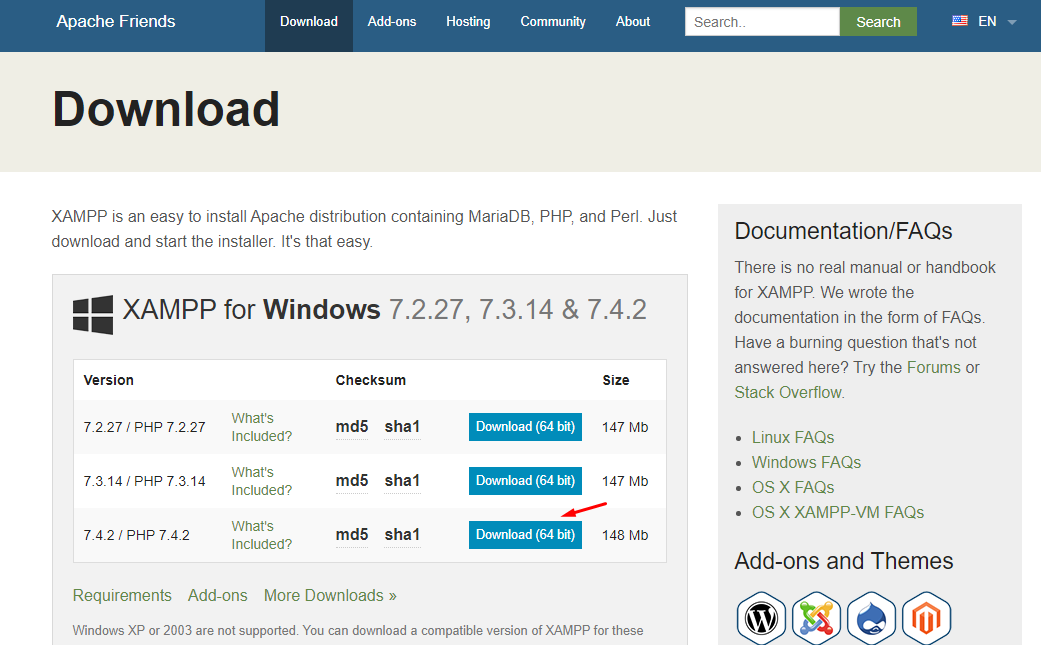
You will see various options that work with different PHP versions. I selected the options that work best with the latest PHP version.
Once the download finishes, run it to install XAMPP on your local system. After installation, launch the control panel to view and set the status for Apache, and MySQL.
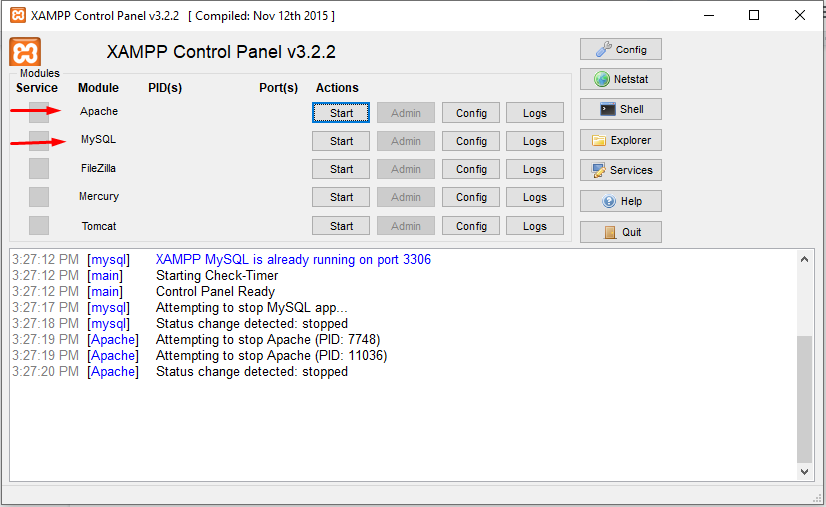
Starting these two services is necessary for installing WordPress locally.
Step2: Install and Setup WordPress Locally
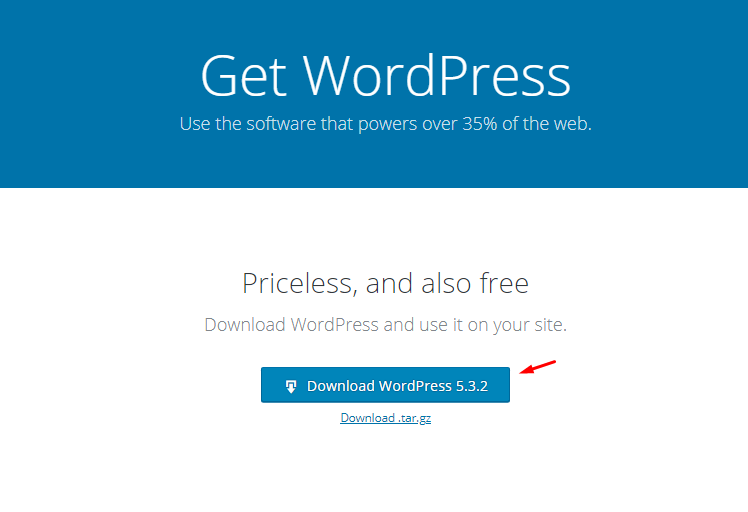
After setting up the webserver and database, download WordPress setup from the official website.
Move the zip file to the /htdocs folder in the XAMPP directory. Unzip the file and navigate to the project directory.
IMPORTANT: Make sure Apache and MySQL services in the XAMPP control panel are up and running.
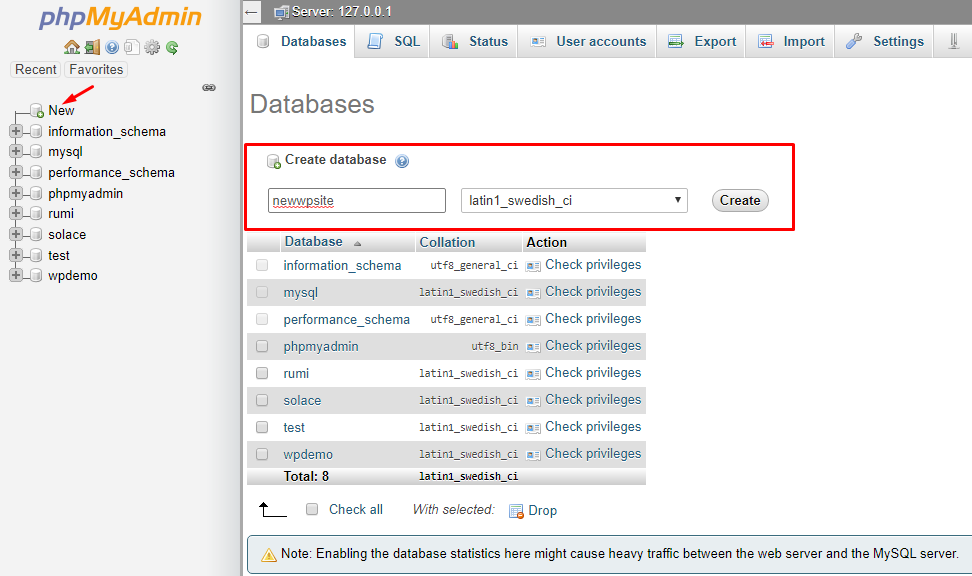
Next, visit the phpMyAdmin portal to create the database of your new WordPress site. You will most likely find the portal on the following URL (depending on your port configuration).
- http://localhost:80/phpmyadmin/
Once the database is created, launch the WordPress installation setup by visiting the following URL.
- http://localhost:80/newwpsite/wp-admin/setup-config.php

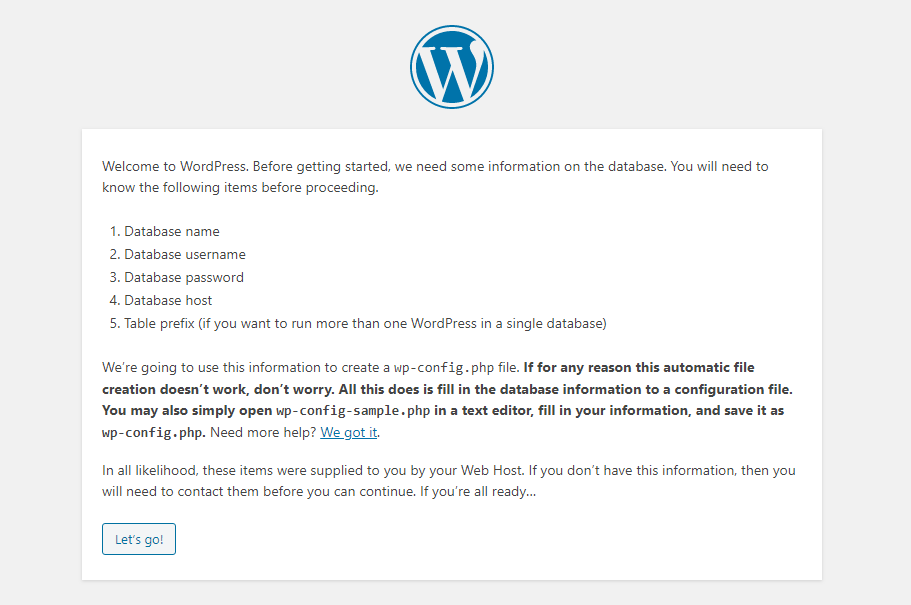
Select the desired language and click ‘Continue’.
On the next screen, follow the steps to add database credentials to the wp-config.php file.
Open wp-config.php file within your favorite code editor and define database credentials as follow:
- // ** MySQL settings - You can get this info from your web host ** //
- /** The name of the database for WordPress */
- define( 'DB_NAME', 'newwpsite' );
- /** MySQL database username */
- define( 'DB_USER', 'root' );
- /** MySQL database password */
- define( 'DB_PASSWORD', '' );
Save the file and head back to WordPress installation wizard.
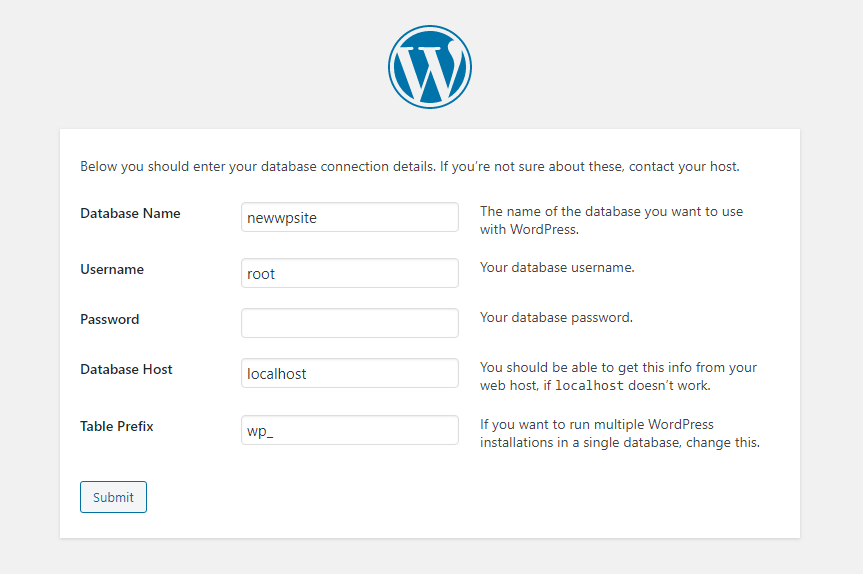
Enter the database name, username, and password. You may also define your own table prefix but for now, I am keeping the default value. When finished, click ‘Submit’.
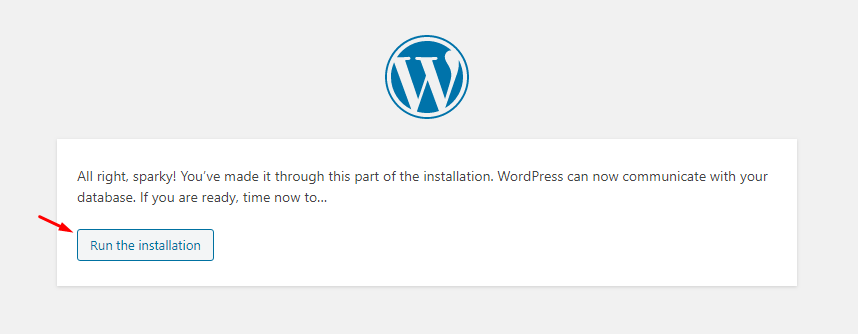
The next screen will confirm the successful database configuration Click ‘Run the installation’ to begin the WordPress installation process.
In the next screen, provide information about your website and set the username and password to access the WordPress dashboard.
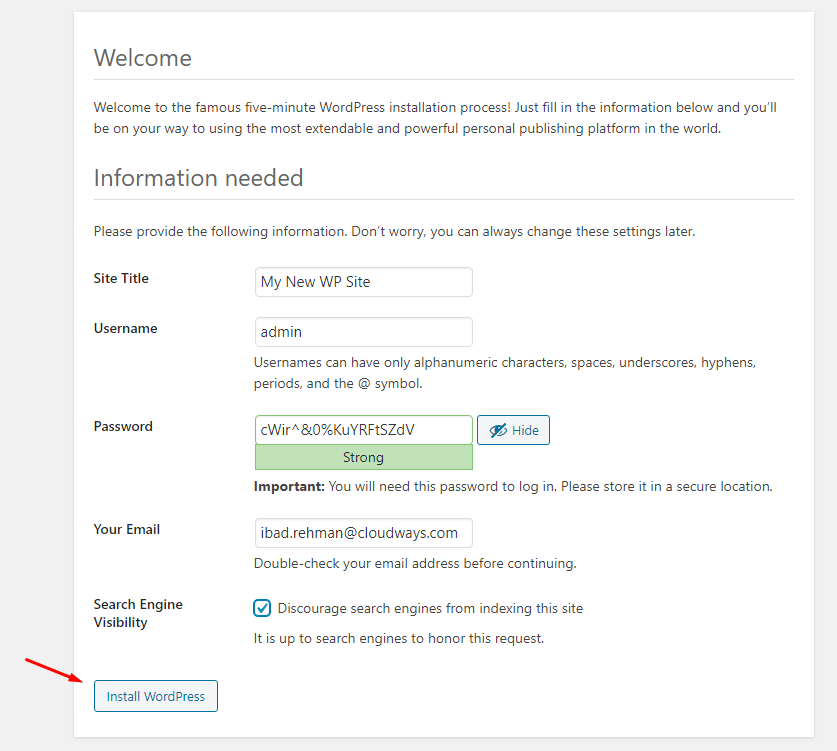
Once done, click the ‘Install WordPress’ button. This will show the success message and the button to launch the very well known WordPress dashboard login page.

That’s all you need to do to install WordPress locally on your Windows machine.
can you be made HTML and CSS deep series? i am very excited and thanks for the new skills for me
WPGIZ
2
I want to make my school website in Urdu so want Right to Left option for urdu which theme is perfect which supports Right to left text and also supports urdu font..plz share your experience
1
Can you tell me which software you are using for screen recording. Thanks.
You are doing amazing job....
And you are giving us exact knowledge we want.
I really appreciate your efforts in making such a great video. I learnt it very quickly.
Please share Visual page builder / king composer tutorial 🙏🏻